
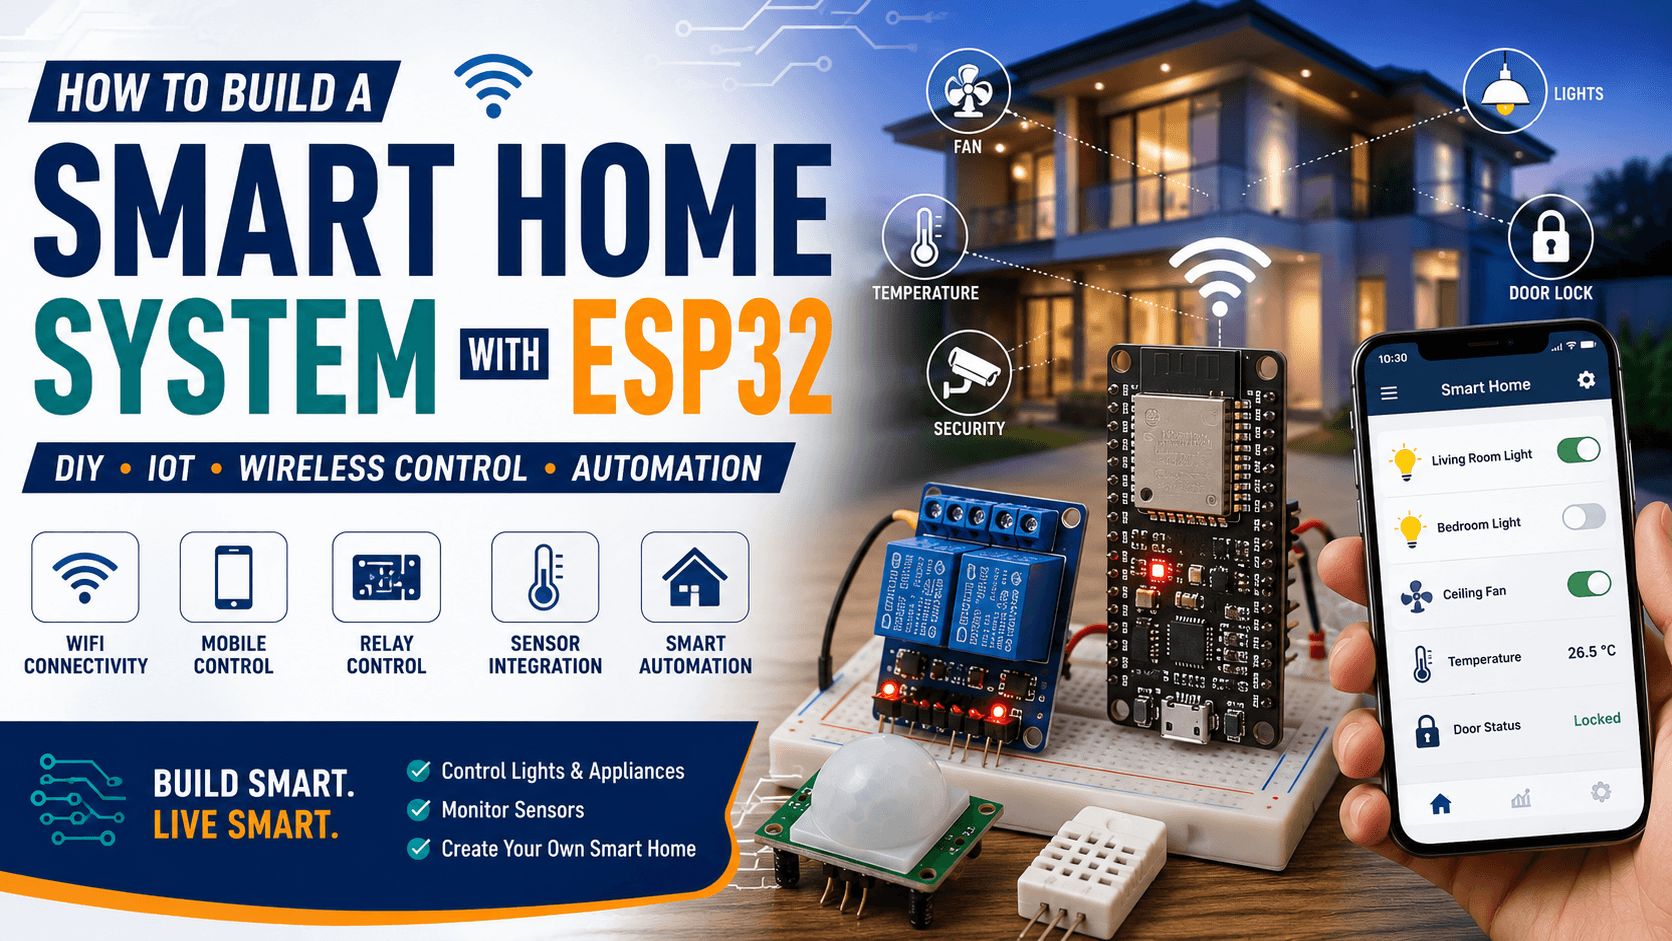
How to Build a Smart Home System with ESP32
Want to control lights and appliances from your smartphone? You can build a simple smart home system with ESP32 using affordable electronics components and a little Arduino programming.
The ESP32 is ideal for smart home projects because it includes Wi-Fi and Bluetooth, allowing your devices to communicate wirelessly without requiring an additional Wi-Fi module.
What You Need
For a basic ESP32 smart home project, you need:
ESP32 development board
1-channel or 2-channel relay module
LED or small DC load for testing
Push buttons
Jumper wires
Breadboard
USB cable
Smartphone
Arduino IDE
Safety: For learning and testing, use a low-voltage LED or DC load. Working with 220/230V AC mains requires proper electrical protection, isolation, enclosure, and qualified installation.
How Does It Work?
The basic system works like this:
Smartphone
     ↓
Wi-Fi Router
     ↓
    ESP32
     ↓
 Relay Module
     ↓
 Light / Appliance
The ESP32 connects to your Wi-Fi network. When you send a command from a phone or web interface, the ESP32 receives the command and switches the relay ON or OFF.
Step 1: Connect the Relay
For a simple low-voltage demonstration:
Relay ModuleESP32VCCSuitable supplyGNDGNDINGPIO 26
Connect your test LED/load through the relay according to the relay module's specifications.
Step 2: Program the ESP32
Install the ESP32 board package in Arduino IDE and write a program that connects the ESP32 to your Wi-Fi network.
A typical smart-home program can provide a simple web page with buttons such as:
SMART HOME
Light 1:  ON / OFF
Light 2:  ON / OFF
Fan:      ON / OFF
When a button is pressed, the ESP32 changes the corresponding GPIO output and controls the relay.
Features You Can Add
Once the basic system works, you can make your project much smarter by adding:
💡 Automatic lighting
🌡️ Temperature monitoring
🚶 PIR motion detection
📱 Smartphone control
🔔 Door/window alerts
⚡ Energy monitoring
⏰ Scheduled appliances
🌐 Web dashboard
🎙️ Voice control integration
For example, adding a DHT22 sensor allows the ESP32 to monitor temperature and humidity. A PIR sensor can detect movement and automatically turn on a light.
Why Use ESP32 for Smart Home Projects?
ESP32 is an excellent choice for students and makers because it combines:
Wi-Fi connectivity
Bluetooth
Multiple GPIO pins
Analog inputs
Low-cost development boards
Arduino IDE support
Excellent IoT capabilities
This makes it possible to move from a simple Arduino project to a connected IoT smart home system.
Project Upgrade
You can take the project further by connecting the ESP32 to an IoT platform or cloud dashboard.
The upgraded system could look like:
Sensors
   ↓
ESP32
   ↓
Wi-Fi
   ↓
Cloud / IoT Platform
   ↓
Smartphone
You could monitor your home remotely and control connected devices from anywhere with an internet connection.
Conclusion
Building a smart home system with ESP32 is an excellent beginner-to-intermediate IoT project. It teaches practical skills in Wi-Fi communication, sensors, relays, microcontrollers, and automation.
Start with one LED and one relay, then gradually add sensors and wireless features. With ESP32, a simple electronics experiment can become a complete smart home project.
🛒 Build Your ESP32 Smart Home Project
Get the components you need from Egrow Smart:
ESP32 Development Board
Relay Module
PIR Motion Sensor
DHT22 Sensor
OLED Display
Jumper Wires
Breadboard
👉 Start Building Your Smart Home Project with Egrow Smart